The board set-up on saturday, from the British (northern) edge.
The German end of the table, Panzer IVs arriving
With the Battlegroup South show less busy on Sunday than the
Saturday (but not less hot inside the tank museum’s metal sheds), Piers and I
set-to on our 1,000 point game at Gavrus on the Odon river.
His British infantry force consisted of (roughly), 3
Churchill III/IVs, a Crocodile, a AVRE and a Churchill VII, with two infantry
platoons in support (on foot), a carrier section, a 17 pdr AT gun and Crusader
tow, an infantry foot patrol and AEC armoured car as recce, and two on-table 25
pdrs and off-table 4.2” mortars as artillery support.
The SS consisted of two grenadier platoons. The first were
veterans, with MG-42 upgrades and panzerfausts in all squads, but on foot. The
second platoon was regular, but in trucks. These were support by a HMG-42 and
loader team and a Panzerschreck team. The panzers were 4 Panzer IV Hs, with the
forward HQ in another Panzer IVH (I figured if my tanks were going to get blown
up by 17 pdrs, then they might as well be Panzer IVs as Panthers – this was
before I knew I’d be facing Churchills and no Fireflies though). German artillery
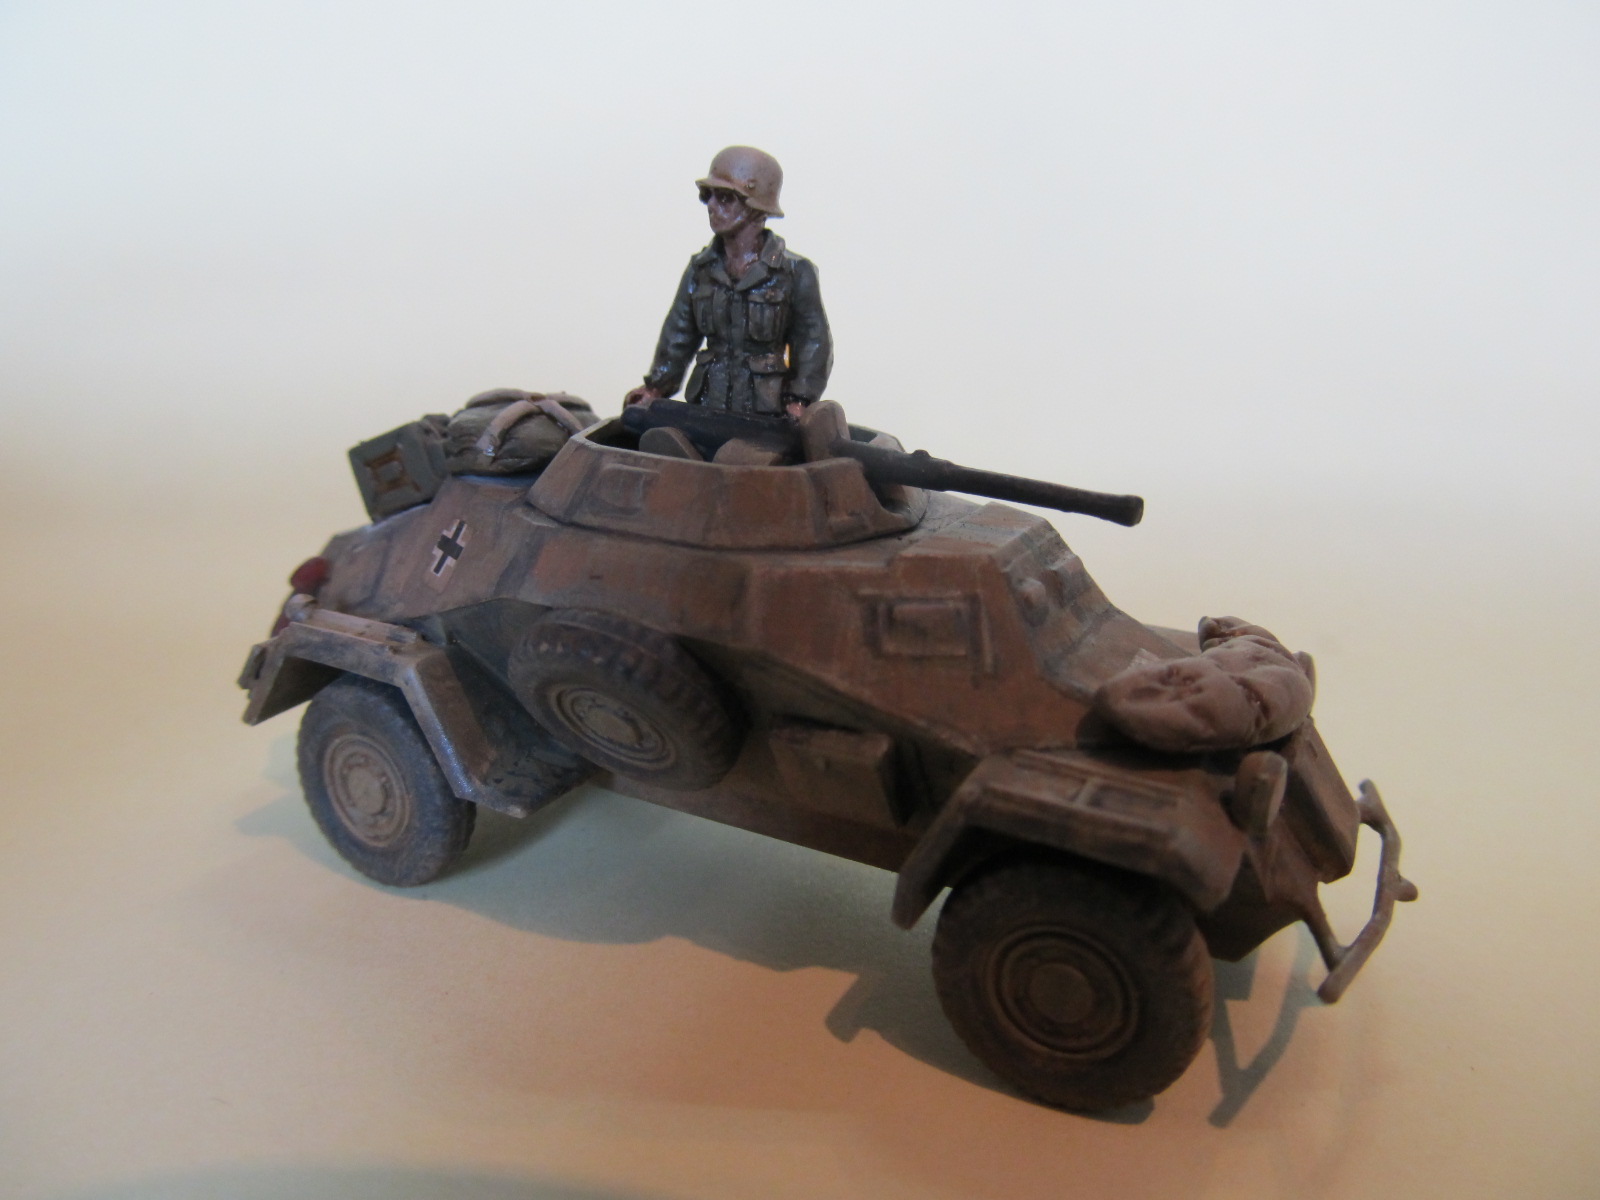
support was two off-table batteries of 120mm mortars, with recce from a 234/1, and other support from a supply truck and Famo
recovery half track. Last, but far from
least, was my killer, a Jagdpanther upgraded to Panzer Ace... he’d be doing the
real damage then! Both sides had a Forward HQ and an Aid Post as well, for the extra
BR!
Forces sorted, we deployed with the Germans holding Gavrus
and the Brits having crossed the bridge. Everything started on the table, which
is odd for Battlegroup, as I’m not a fan of such layouts, preferring games to
esculate to a crescendo of battle than pitch in from the off. But this was a demo so, in order to get the game
going from turn 1 we just got the models on the tabletop and went for it.
Despite being out scouted 2 to 1 (costing me a counter), the Germans won the
first turn and set about dealing the pain.
My first 120mm mortar stonks failed to score any pinning
along the British start line, and thus their attack would roll forward
unhindered. Behind my infantry, now going onto ambush fire in the hedgerows, my
Panzer IVs rolled forwards, through and around Gavrus, to engage the soon to be
approaching Churchills. On my right flank the mighty Jagdpanther moved up to
threaten the farm (an objective) as the truck-borne grenadiers behind followed cautiously,
risking an extra turn inside their trucks. Not much damage in turn 1.
The British responded with artillery fire, hitting a pre-registered
target point in Gavrus with 25 pdr shells, one of which immobilised a Panzer IV
in the main street. The 17 pdr raced over the bridge and deployed into the
woods to the right, covering the main road, whilst the carrier platoon dashed
boldly for Gavrus and debussed into the first building. On the British right,
the Churchills kicked off their slow advance, infantry sections hugging the
back of each tank as it churned into the mortar shelling. They failed to spot
the lurking German ambushers in the hedge ahead, who held their fire until the
enemy were closer. Mortar fire on my
right flank saw three trucks pinned (but none hit – phew!).
Turn 2, and the German 120mm mortars were busy again,
hitting the advance, and this time scoring some pins. One stray shell wiped out
the carrier section’s Bren team. The first Panzer IVs approached the hedgerow
and nosed their guns forwards to line-up the British tanks. The immobilised panzer
took careful aim and hit the lead Bren carrier with two HE shots, destroying it
utterly (still only 1 counter despite destroying it twice over!)! Still, the
Panzer IV was immobilised on the PRTP, not a healthy place to be. The
Jagdpanther, seeing the lurking Churchill VII and AVRE ahead, went onto ambush
fire, which should keep those two tanks at bay, if they had any sense (and Piers
usually does). The infantry had been delayed by a mortar barrage behind, so the
attack had stalled for the moment. This would have bad consequences later on,
when the British occupied the farm in strength before the Germans had got into
position for their assault.
The British turn was much as turn 1, with the Churchills
rolling forwards, and failing to spot much to target, and the infantry ghosting
along behind the armour. 25 pdr fire on Gavrus again scored another hit on the
immobile Panzer IV, and although it survived the shelling intact, the crew got nervous
and abandoned their charge! Scratch a Panzer IV. Cowards!
In response, my mortaring next turn scored several direct
hits on the dangerous 17 pdr gun in the woods by the bridge, and it was
destroyed, although most of the crew and its loader team survived. There was
fighting in Gavrus itself, as the carrier section’s 2” mortar opened fire, and
drew return ambush fire from an MG42 team, costing the Brits 2 men in the exchange.
Facing the Churchill advance, the three Panzer IVs opened fire. One scored a
hit on the Crocodile, only for the AP shell to glance off, and another glanced off
a Churchill IV - a rude surprise to German tank commanders to see their guns
struggle for once. One Chruchill brewed up though. That Crocodile was now getting
too close to the hedgerow for comfort.
My MGs opened fire from the hedge, causing some pinning and
few casualties, but not the wholesale slaughter I’d hoped for. The British
infantry hit the dirt and soon started to return fire, proving their big
sections and Brens lethal at this range. German casualties mounted on the
hedge, but the HMG-42 and loader team was still in action and flaying the field
ahead with hails of bullets. Their fire was soon silenced by MG fire from a
Churchill’s two Besas.
The tank fight on the German left took a turn for the worse as a 6 pdr gun cracked
through a Panzer IVs frontal armour and left it a smoking wreck. Something had
gone wrong, usually the German tanks dish out the AP damage.
On the right, the skulking Churchill VII, unwilling to face
the ambushing Jagdpanther had not moved to engaged, but the AVRE had, edging
slowly through the trees until it could launch a 280mm shell at maximum range at my
waiting panzer ace. It missed, with an almighty explosion, but my elite crew were unshaken,
and lined up the AVRE. The Jagdpanther fired, hit and killed the AVRE! Score 1 more to the ace.
Exposed to a too tempting flank shot, the Churchill VII now
turned the corner of the farm and took aim for revenge. It fired and missed, much to Pier’s disgust. Next turn surely the Jagdpanther
would turn and score an easy kill, even against the Churchill’s monstrous
frontal armour, it would not save it from that 88mm gun. It was not be. The Jagdpanther turn, lined the Churchill up and
rolled a 1, missing. The duel was on.
Meanwhile, the German infantry supporting that flank had
finally arrived, and deployed into the surrounding fields and orchard. Their MGs were now
trying to pin the British infantry in the farm as they exchanged fire. More
big mortar shells rained in, 120mm and 4.2", and both sides took some pinning. It was getting
hot on both flanks.
With the game evenly poised (but maybe the Germans just edging
it) we took a break to do some shopping, chatting, loafing and take on extra
liquid in the sweltering heat. So far the Germans had taken 12 counters. The British
had taken 13. It was close.
Arriving grenadiers become pinned in their trucks by mortar fire.
The British start line on their right flank, under mortar fire from turn 1.
Here they come, the Germans defend the hedge line with mortars, MGs and tank fire.
In Gavrus, the panzer is abandoned, the 234/1 pinned, the Bren carrier down the road burning bright.
British 25 pdr gunners providing the invaluable artillery support for the attack, from safety north of the river.
Panzer grenadiers finally debuss from trucks and move along the lane towards the farm.
The attack got no further.
Churchills weathering fire from the hedge.
The over-bold carrier section takes a pounding from MG and mortar fire.
One Churchill brews up, but the others fight through the fire.
Jagdpanther claims a kill - the AVRE burns in the woods.
The farm objective, here an infantry squad hammers away from cover to surpress the defenders.
Perhaps the break wasn’t such a good idea. Any luck I’d had
(mostly in good cover saves) now deserted me, and the mojo passed firmly back to
Piers. Suddenly, the British burst forth and unleashed hell upon my lines. This
was mainly down to two turns of dire German command rolls, scoring 8 and 9 (on 3D6+4!!).
The Germans stalled, confusion reigned and British got heavily stuck in. Before
I knew it my three Panzer IVs had taken multiple 6 pdr hits and were burning
along the hedgerow. The last of my grenadiers were swept away by small arms
fire. My left flank had completely collapsed. The Jagdpanther took a hit from the
Churchill VII which immobilised it, some use in an assault gun, which could now
no longer turn. A British PIAT team then saw their chance and ran up the lane, to finish
the beast with a side shot. My armour was all but gone. The British infantry in
the farm pressed the advantage from the loss of the Jagdpanther, and an MG team
and another grenadier squad were wiped out. My 234/1 was also hit by 25 pdr
fire and knocked out in Gavrus, having done very little (lacking the orders).
The counters racked up fast (and even the air attack one failed to bring any
good results).
I looked around for something to save me, finding only a
supply truck, aid station and Famo, which all withdrew off the table rather
than become the advancing Churchill’s next target. The last of my infantry and their single
MG fought on hopelesly from the church but then, when the Crocodile opened fire with its
flame thrower, lighting up the MG team, my forces had had enough. I reached my
break point at 57. The British had suffered the loss of 47 from a total of 63.
A solid win, although it had not always been so clear cut.
Gavrus and its bridge had to be abandoned to the advance of
15th Division, their Churchills had proved themselves tough, if
slow, opponents, well a match for a Panzer IV. Another win for Piers (just
don’t ask how many ‘Restricted’ units he had in that company sized force! ;-)
Eek! The Churchills dish the damage as the hedgerow west of Gavrus is swept clear of defenders.
The Churchill VII takes on the Jagdpanther in a clash of the heavy-weights. The Jagdpanther missed, and was then immobilised by return fire.
Gavrus, outflanked and in deep trouble. The last Germans hold the church.
The Croc lines up the church, things are about to get very hot!
End game. Gavrus surrenders.
The Jagdpanther is knocked out after being flanked (it couldn't turn to face either). British infantry are mopping up the last grenadiers from the orchard and hedges.