One of our occasional games in Tunisia using Battlegroup Torch, this time 800 pts per side in a Recce Screen scenario (for which I, the Germans, did not take enough recce). Set, vaguely, near the Thala Road as British armour fought to stop the advance of 10th Panzer Division out of the Kasserine Pass (towards Thala). Known as Gore Force, it included Valentines and Crusader tanks, against 10th Panzers III and IVs.
Lots of pics of this fight. The first 5 turns were the recce screen, something of issue for the Germans with their mere 2 recce units (Kradschutzen squad and SdKfz 222, both spotting for a off-table 80mm mortar battery), vs the Brit’s 5 (2 x Daimler armoured cars, sniper team, foot patrol and recce HQ in Dingo, spotting for off-table 25 pdr battery - ouch!). The recce battle was only ever going one way, as I lost my kradschutzen trying to prevent the British getting all the objectives early, and a handy mine-strike did for one Daimler as it moved to the central objective by the road (marked by a desert well). The 222 survived though, but was repeatedly pinned by incoming 25 pdr rounds at the farm. I gave up unpinning it until the army arrived. On Turn 6, it did, the first Panzer IIIs and supporting grenadiers in their half tracks, and the battle was on for real. The Brits had had the better of the chits in the recce phase though, so I was playing catch-up.
My plan was to go fast and hard at the objective on the ridge (to my right), take it quickly and hold it and prevent the British from having it. To this end the panzer grenadiers in the captured M3s would lead, with the tanks in support. That would be my main attack, with support to their left from more tanks, trying to get to the well objective and using their long guns here, including the tasty Pz IV F2 (and its unerring ability to mIss!). Behind woulD come the support stuff, FHQ, Luftwaffe forward air observer (come on the air attack chits, I was bound to get one right?), AA quad flak truck (on ambush fire against the RAF, resisting the temptation to use it for ground fire and get it killed, it is just a truck) and my supply truck waiting on reserve move for when the tanks ran low.
From the opposite corner the Brits would arrive, Valentines moving to their left to contest the ridge objective, crusaders and motor infantry platoon moving up the centre for the clash around the well. They had dedicated 25 pdr support, which I thought would hurt, but actually, repeated failed radio checks and some wild shooting, to miss the table, meant I got away lightly here, then my Stuka timed strike, by sheer good luck scored a direct hit on his observer in the Dingo. That was a Dingo in orbit then from a heavy bomb impact, and no more artillery spotter –fluke, but hey you take the smooth, because there is enough rough!.
My own mortars, spotted for by the handy 222 lurking at the farm, had that British ridge zero’d in and would harass it turn it after turn. Handy pinning was all that was required.
The attack on the ridge objective also went well, a timed 105 barrage pounded the ridge with harassing fire and by fluke (again) killed his sniper team holding the objective. My M3s (and 251s) pushed up fast, infantry piled out and took the objective, hiding amongst the rocks. They’d just hang tough, unable to harm the Valentines facing them, but they were distracted by the Pz IIIs in a gun battle that would not end. So, here we have two tanks that cannot hurt each other (much). 2 pdr guns bounced every hit. Short 50mm gun bounced off the Valentines front armour as well. Many hits, all for nothing. Clang, clang, clang… much ammo used. The Valentines also couldn’t easily shift the infantry, no HE shell and 1 MG.
In the centre, the British motor infantry moved a section up to take the well objective, but when they became pinned and their AT rifle team ran away (last man pinned), my third (reserve) grenadier squad raced up the road (reserve move again), then jumped out and assaulted them, wiping them out and taking the objective for me. Their MG team got the next British section (down in the scrub) head’s down too. The Germans were winning. Under attack, the British started to quick evacuate all those truck transports off the table.
That, of course, doesn’t last, things change. A Valentine finally scored a penetrating hit on a Pz III, first tank kill, and his second infantry platoon, on foot, was now closing in on the ridge objective, if under MG ambush fire from my grenadiers and their supporting transport, their pinning would keep the British counter attack struggling forwards for several turns. Taking a counter to remove that pinning resulted in an air attack counter, and the RAF did show up! Damn. A Hurribomber came buzzing in next turn, only to be shredded by quad 20mm flak rounds. Pinned and with 2 damage, only 1 point left, the Hurricane got a pasting. Quad on ambush fire, nice work! The Hurricane would try 3 times to attack, getting pinned every time, be lucky not to get shot down and then give up and stay pinned. Too hot down there. I never took the counter for under air attack.
I also drew an air attack counter, hurrah for the air observation officer in his little 250. Then rolled a 1, so no Luftwaffe help… typical. Dice malfunction. Another Stuka would be so handy, and the British had no AA defence.
Oh well, we’d been at it for 3-4 hours and both side’s counter stacks were building, it was close. The Germans clung on their objectives, in the centre the panzers moved up, but one was hit by a Crusader and KO’d. One Valentine, pinned by HE fire, failed a morale test and the crew bailed, still no kills, but at least it was out of action. Another Valentine survived a second mine strike counter (man these things are tough). My tanks were low on ammo, mostly AP rounds although throwing HE to pin Valentines had become handy. The resupply track rumbled up as the first panzers fell back to meet it and rearm.
And that was about it… we had run out of time. The game had lasted all afternoon, but neither side had actual broken. We added up the numbers to see which side was closest to breaking. The Germans were, just. But (and this is something we did not realise mid-game), the Germans actual had all 3 objectives. A draw then? Slight German win on objectives?, but a fun fight. The tanks had really struggled against each other, and my veteran grenadiers had done great work in getting to those objectives and holding them. Good fun.
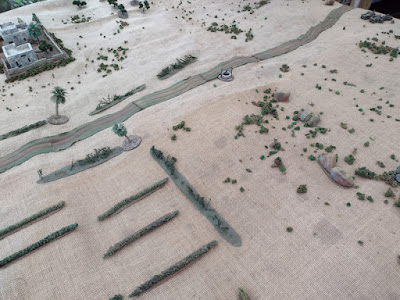 |
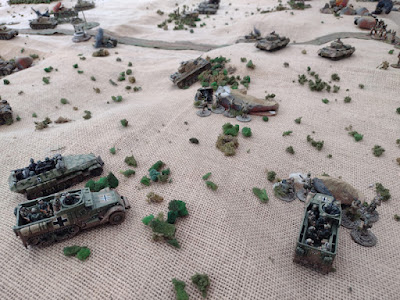
Thala road, Germans moving on from the bottom, Brits from the top.
|
 |
Kradschutzen moving up the road on a recce.
|
 |
SdKfz 222 in support at the farm.
|
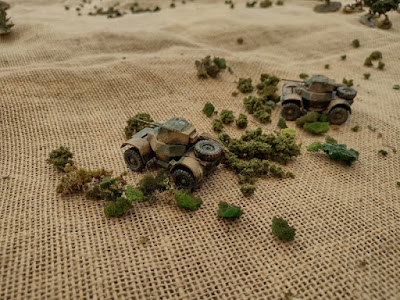 |
Daimlers of the Derbyshire Yeomanry lead the British recce force.
|
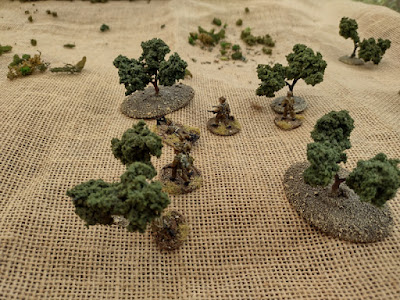 |
Foot patrol move into an olive grove, go on ambush fore, and get forgotten about.
|
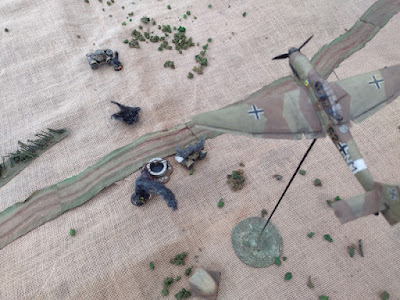 |
Early timed Stuka strike, scores no hits, the Daimler it targeted was already dead from a stray mine.
|
 |
Kradschutzen, on foot now, try to hold an objective.
|
 |
25 pdr's open up on the farm.
|
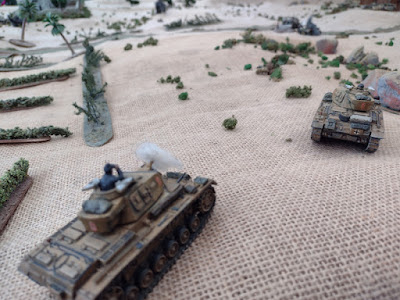 |
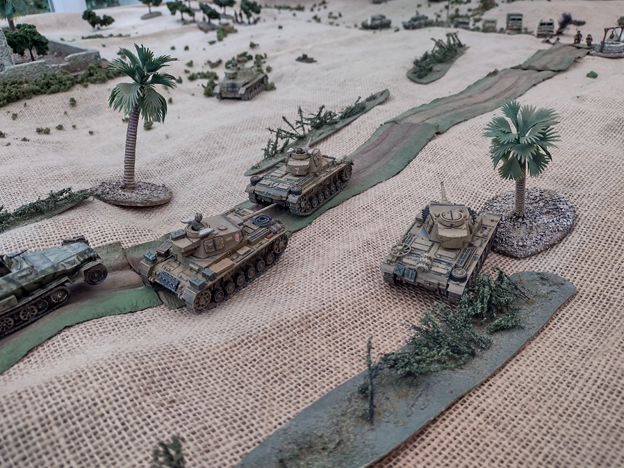
First Pz IIIs move on.
|
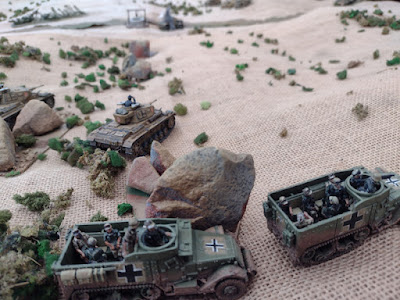 |
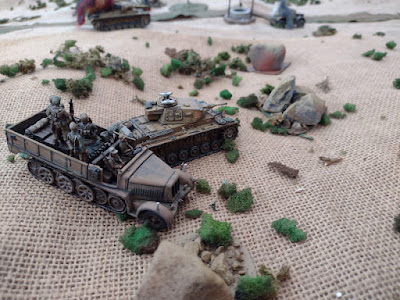
Followed by panzer grenadier's half tracks.
|
 |
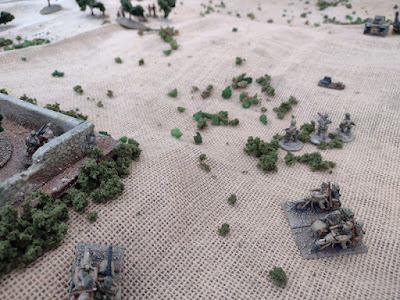
Motor infantry platoon and supporting 6 pdr (dangerous gun in '43) deploy in the centre.
|
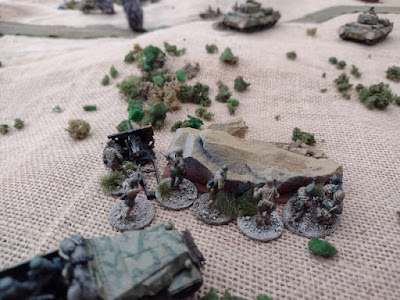 |
Grenadier squad takes the ridge top objective (marked with a KO'd gun).
|
 |
Valentines move against them. Tough as old boots...
|
 |
The F2 moved to cover the German left, if only it could hit a Crusader!
|
 |
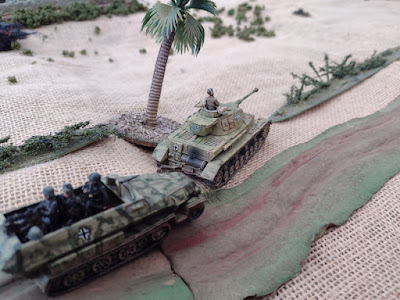
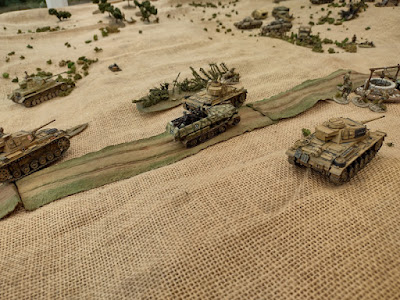
Flank covering force on the Thala rd. Ahead the Brits have the well objective. Not for long...
|
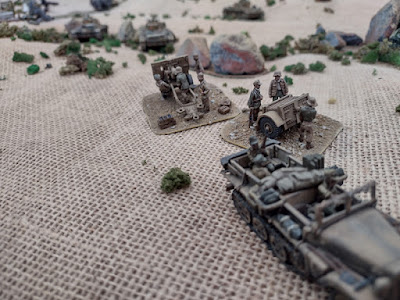 |
Used a heavy infantry gun, supporting direct HE fire from a captured 25 pdr. An ammo low counter saw it withdraw off the tabe. Not much in that limber then...
|
 |
On ambush fire, bring on the RAF!
|
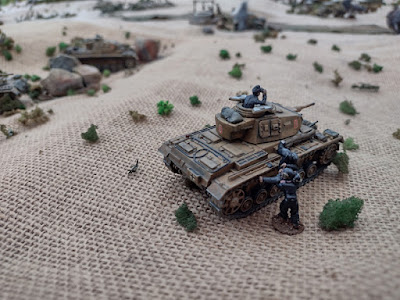 |
Pz III pinned by 2 pdr shells off the gun mantlet.
|
 |
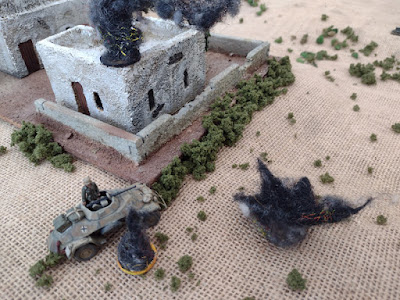
Ah, thr RAF is here... Hurribomber about to meet quad flak...
|
 |
Attack up the road, and the Germans have the well objective too.
|
 |
Rear echelon stuff, FHQ, air liaison officer's 250 and comms link armoured car.
|
 |
British motor rifle platoon in trouble. Finally a Pz III got a Crusader.
|
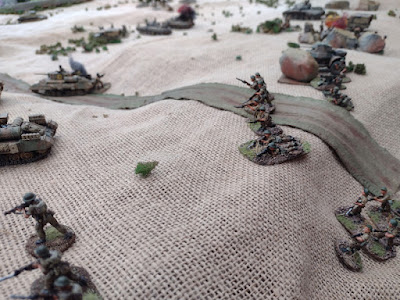 |
The foot platoon try to attack the ridge, but 4 MGs on suppressing fire make it hard work getting anywhere.
|
 |
The panzer grenadiers hold their end of the ridge.
|
 |
More ammo please... supply half track moves up.
|
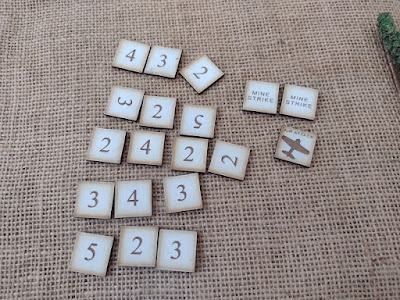 |
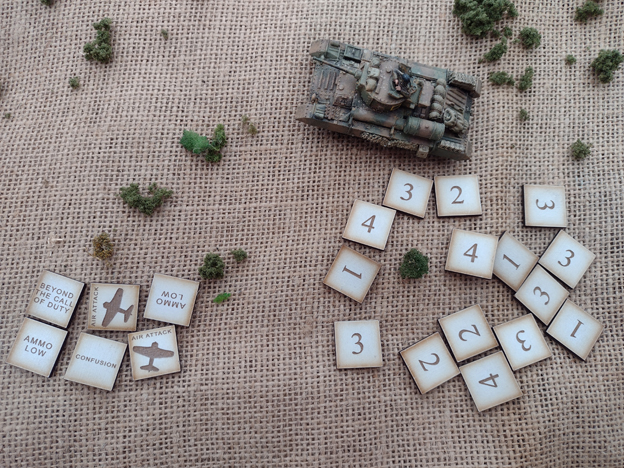
German counters... its 49 out of 54 BR
|
 |
Brits, 39 out of 52.
|
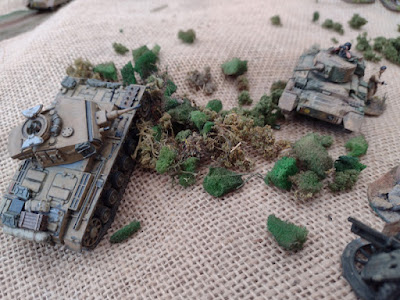 |
Oh, give it up, even at under 10" these tanks can't score a killing hit.
Good prolonged gun duel though...
|